Foreword. Links
With this space I hope to give help to those who, like me, wants to replace pick up his coat without help from some maker ........ The work is fairly simple, incidentally having the single-coil pickups, the work is almost halved compared to the humbuckers which have different may be connected because of the double coil.
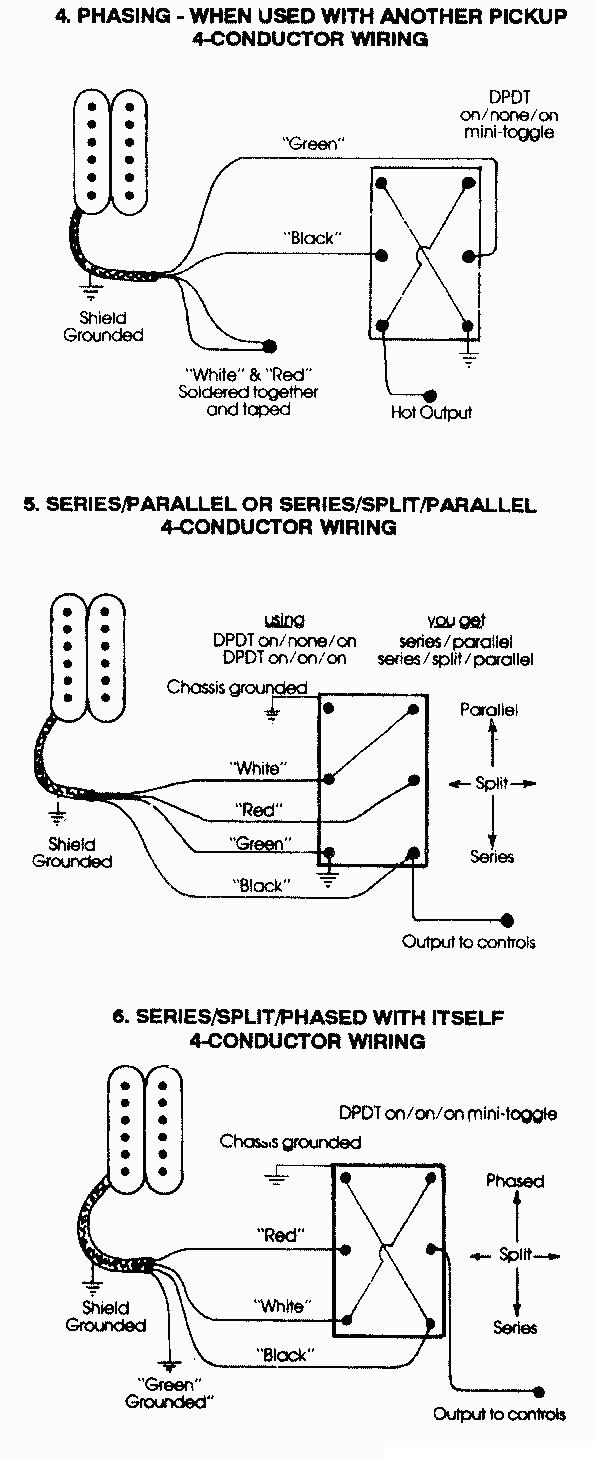
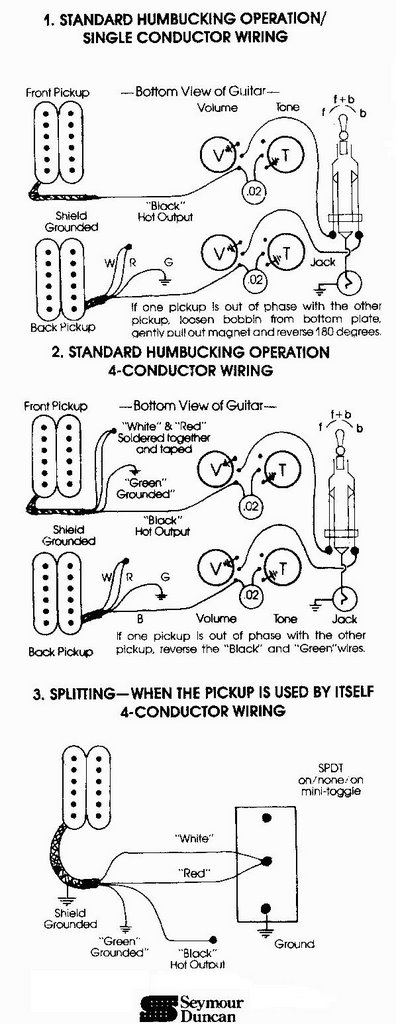
There is also a hint of the schemes and the links of the Humbucker, just see the difference, but in this case we will, as already said, only the single-coil Stratocaster style.
For this work, you first need a lot of patience and quite practical, even if you do not need to be experts do not recommend the work described below who is not practical to avoid damage to your "beloved".
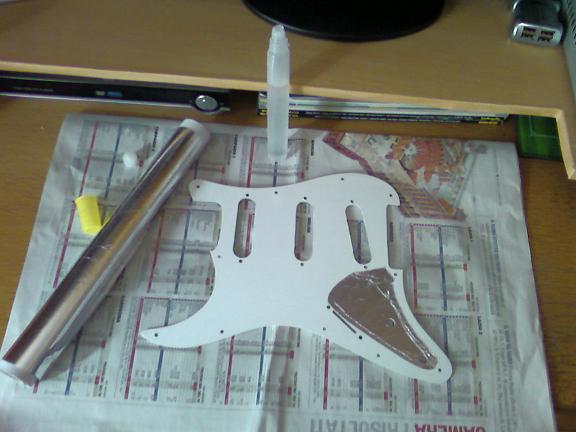
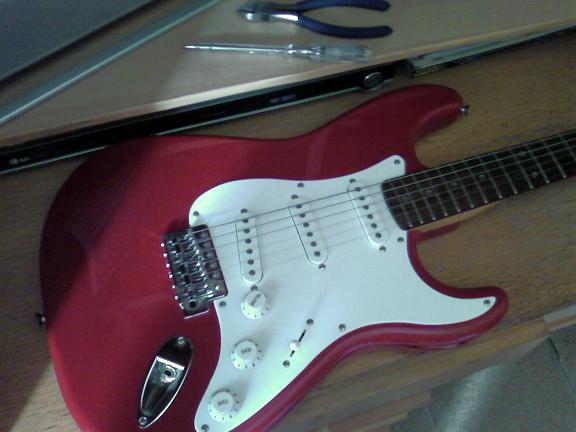
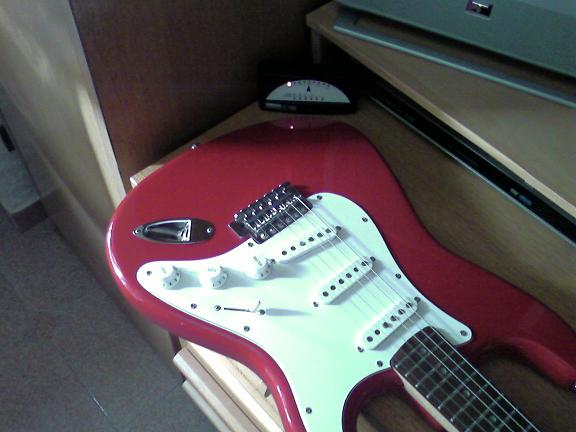
I replaced the pickups with original Vintage'57 of the bridge and the center and a Texas Special at manico.Di Here are step by step procedures that I efffettuato sostituzione.La procedure for the course is good for all the guitars that use the single coil style Stratocaster.
nice time.
Thursday, June 8, 2006
Friendly Message For A Wedding
Sunday, May 21, 2006
Pediatric Genital Examination
Before actual work and since I also have to replace the cover, I decided to create a shield to decrease the frequency eddy captured by the magnets in the pick up.Il work is very simple:
On the back of the mask is looking smear of glue to get good seats right near the edges of the pick up. After the glue sprinkled
takes a sheet of aluminum (DOMOPACK) and you do adhere well to the surface of the mask.
Pudhari Diwali Ank 2009
Wear After Giving Birth
Buy Baking Supplies In Tokyo
Does Anyone Know How Much Dr. Rey 90210 2010
How Long Will A Haematoma Last?
7 8 9
Now that we have removed the nuts of the pots we can remove them from their home with ease and then switch to the disassembly of the pick up.
At this stage I made a shield (gray arrow) with copper tape that runs along the edge of the notch to accommodate the hardware of the guitar and then that will obviously be connected to ground. This
shielding to further reduce the frequency eddy captured by the magnets.
Free Mini Buggy Blueprints
1 Year Death Anniversary Invitation Card
Remove old pick up carefully desolder or cut the wires connecting the pins of the switch and the ground on the volume control.
Now we can begin to assemble the new pick up, paying attention, soldered the white wire to the handle of the pick up in the first right foot on the switch (blue dot) and the black wire to the mass, as mentioned on the volume control.
Songs For College Reunion
Mathematica 5.2 For Mac
now link the last wire (white) to pick up the bridge on the 3rd leg (green dot) from the right of the selector.
Connect to ground on the volume control along with the other, the black wire of the pick up (purple arrow).
Now we have: green = point-
cable pick up
the bridge-cable pick up point yellow = central
-point blue = neck pickup cable
-Arrow = purple connected to ground (all of the cables pick up blacks)
Calculator For Annealing Temperature
Now that we colegio pick up the cables to the selector we are ready to mount on the mask, putting first the caps removed from the old white pickup, then insert the screws in the grille, then making sure the springs are placed into the threaded inside each other and with the widest part that supports the mask.
Hour will come pick you up and screwed to its end without tightening the screws.
Repeat for all pick up.
Best Anonymus Browser
Gridle Advantages And Disadvantages
Acronis True Image Wd Edition Was Interrupted
Subscribe to:
Comments (Atom)